6 Night Photography Tips for Beginners
This past weekend, my friend and I drove over 250 miles through the Texas Hill Country to reach one of the state’s remotest areas – Devil’s River State Natural Area. Seated just south of Del Rio, TX, the Devil’s River is considered the “most unspoiled river in Texas” due to its seclusion and lack of human impact. The hostile, rugged terrain is home to cougars, countless insects and even the occasional black bear. It’s untouched, wild and quiet. Sometimes a little too quiet.
In this part of the state, the stars at night truly are big and bright. The complete lack of light pollution turns the pitch black sky into a beautiful canvas of stars and satellites. And it’s here, deep in the heart of Texas, that night photographers find a perfect setting to capture the night’s most amazing shots.
Personally, I had always wanted to hone my astrophotography skills, but I never had the right equipment or knowhow. And it always seemed a bit intimidating. Manual settings, high end cameras, patience — I didn’t have any of that. So when my friend Dale set up his camera to capture the magical Milky Way, I was excited to tag along.
[media-credit name=”Dale Blasingame” align=”alignnone” width=”1091″] [/media-credit]
It didn’t take long to realize that capturing a stunning night shot really wasn’t as difficult as I had made it out to be. It’s not magic. You don’t need years of photography experience. With just a few simple tools and tricks, I learned how easy it can be to at least get started with night photography. Here are a few of my takeaways:
1. Find a dark place.
Duh. What I really mean is, go to a very dark place. Most people live in areas where city lights prevent them from seeing much more than a few specks in the sky. And while many seasoned photographers can get a nice shot of a starry night no matter where they are, beginners should start out in the darkest location possible. Trust me. It will just make your life easier. You’ll better be able to control your exposure time and capture even more beautiful shots with stars you never knew existed. You don’t need to go to the middle of nowhere like we did, but you might need to drive out of town a few miles. A great place to start would be to find a state or national park near you.
2. Don’t use an iPhone.
This might surprise you, but you can’t just point your smartphone camera into the sky and capture see every star in the Milky Way galaxy. I’ve been trying this method for years, and it has never worked out. Because you’re dealing with many variables, such as light, time, exposure and other settings, a point-and-shoot will never work. You must invest in a DSLR and some lenses. For these shots, we used a Sony a6000 camera, which is a solid but not outrageously expensive device, as well as a 12mm f2.0 lens. To learn more about manual cameras, check out The best DSLR cameras of 2018 by digitaltrends.com.
[media-credit name=”Dale Blasingame” align=”alignnone” width=”1200″] [/media-credit]
3. Know Your Settings.
Before getting started, you need to understand generally how the f-stop, aperture and shutter speed work together to create a well balanced image. While most DSLRs have great auto settings, you just can’t get a great night shot without experimenting with the “Three Kings of Photography,” also known as the “Exposure Triangle“. Once you’ve got them down pat, don’t just learn the theory; learn on your actual device. Not every DSLR camera brand, make and model works exactly the same, and you’ll end up taking a lot of practice shots before you settle on the perfect settings. It takes patience, but it’s vital to get know your camera’s nuances and knobs, especially since you’ll be working in the dark.
4. Find your focus.
Because you’re capturing gaseous fireballs burning millions of miles away, it can sometimes be difficult to pin down the perfect focus, especially when using manual settings. Sometimes, you can focus on a particularly bright planet or the moon (if it’s out). But one tried and true method is to use an extremely powerful laser pointer, such as the Power Rock Green Laser Torch. This gives you full control over the focus, whether you’re solely working with the sky or focusing on a mountain a few miles away.
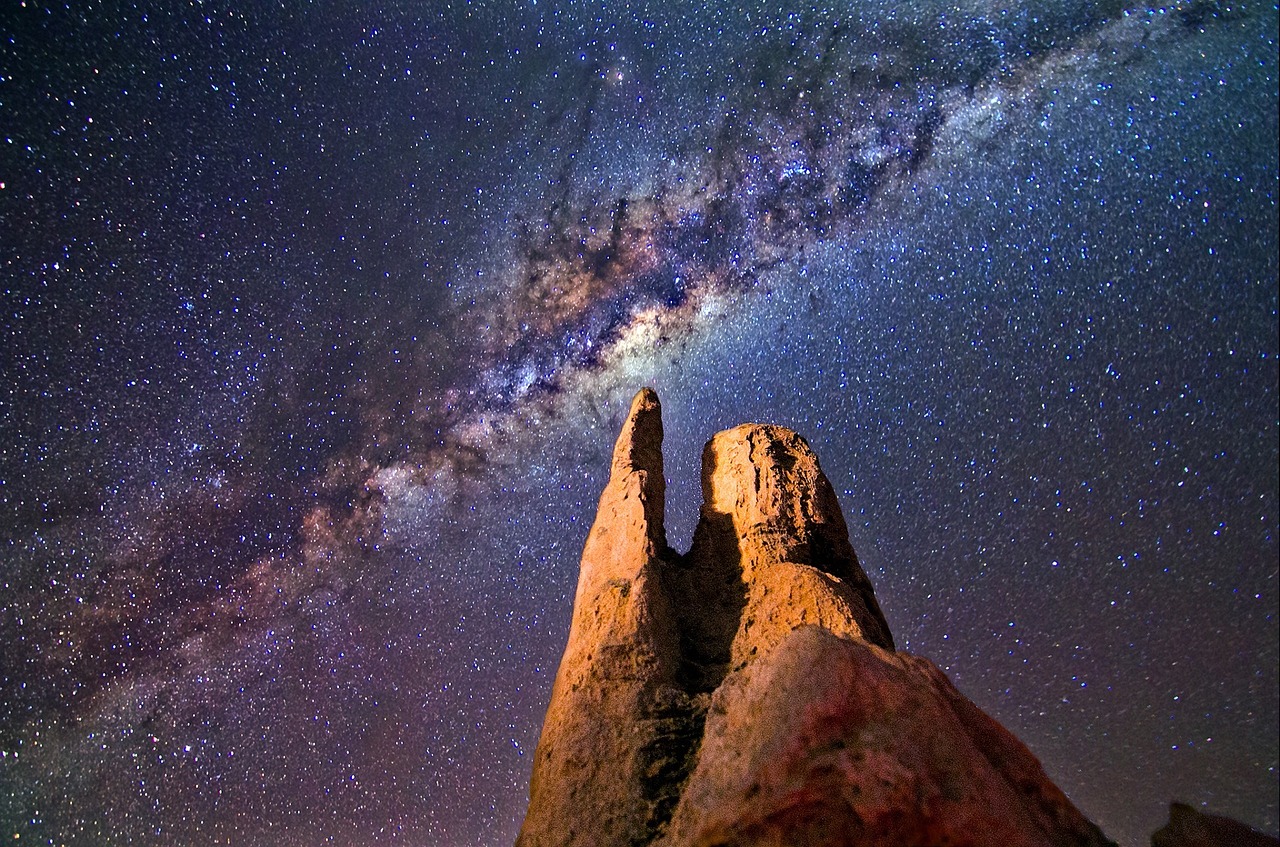
5. Consider foreground.
Of course you want to get that perfect shot of the moon. And do that. But what can truly set your night sky pictures apart from the others? Foreground. Some of the best night photography features rock formations, buildings or beautiful water scenes in front of a stunning array of stars. If you set the camera exposure long enough, or use artificial lights such as flashlights to illuminate a subject on the ground, it will appear as if the shot is half day, half night. We tried a longer exposure on photo below, revealing a picnic table, wooden structure and fire pit. It almost appears as though the sun was still setting, but the shot was taken around midnight.
[media-credit name=”Dale Blasingame” align=”alignnone” width=”1200″] [/media-credit]
6. Post production is key.
Once you’ve worked hard on the setup and shots, you will inevitably need to edit some of your photos. While Photoshop offers a wide range of photo editing features, Dale showed me some features of Adobe Lightroom. This powerful yet user friendly software offers many settings for the beginner, such as white / black clipping, contrast, vibrancy, clarity, and cropping. But don’t overdo it. You’ll want to do minimal editing to ensure the integrity of the image without sacrificing quality.
If you have any other beginner’s tips, we’d love to hear them! Let us know in the comments below.
